
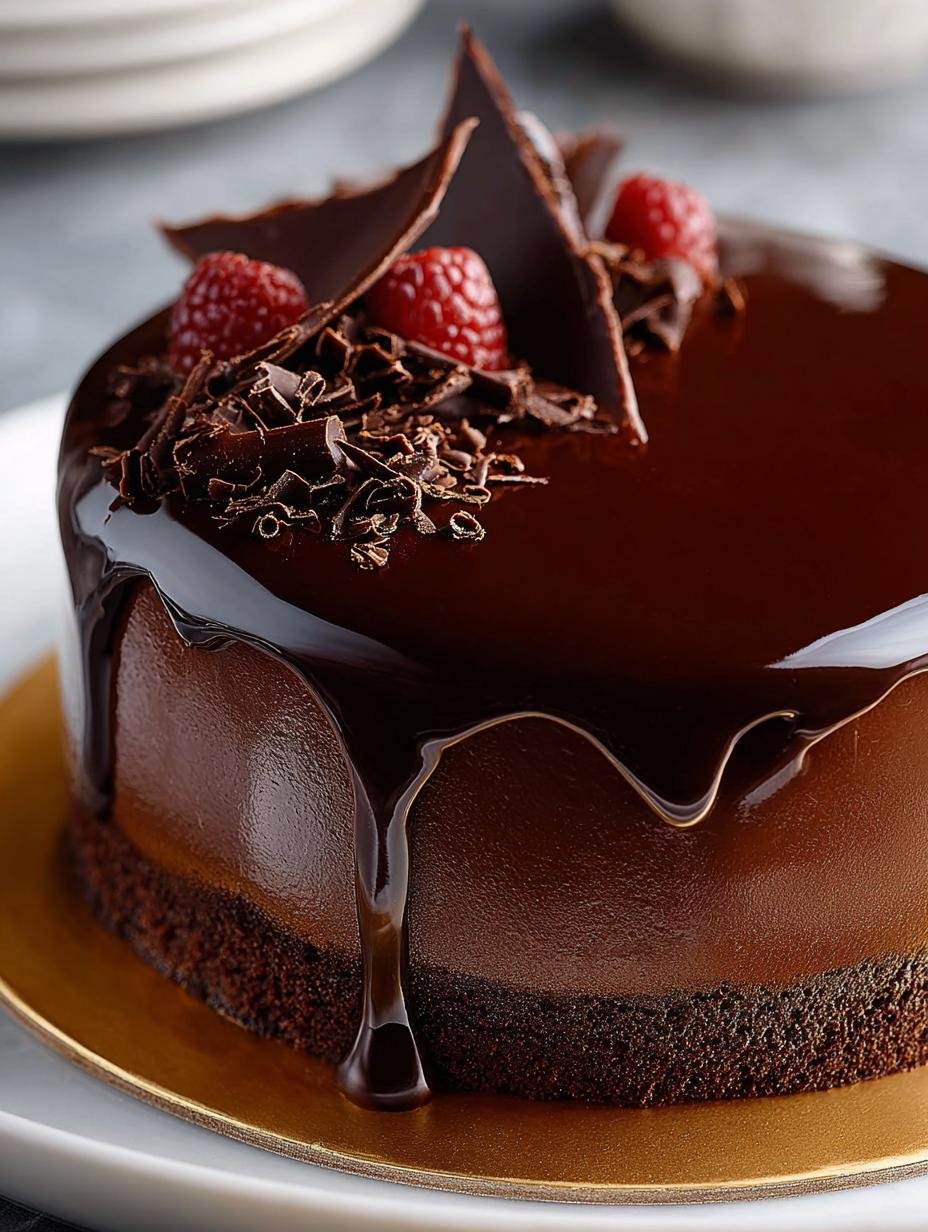
Chocolate Mirror Glaze is a captivating finish that transforms any ordinary cake into a stunning centerpiece. With its rich, glossy appearance, this glaze not only enhances the look of your dessert but also adds a deep, luxurious chocolate flavor. Many home bakers are intimidated by the idea of making their own, but it’s much easier than it appears! In this guide, I’ll walk you through how to make chocolate mirror glaze that will wow your guests and make your desserts shine.
Why You’ll Love This Chocolate Mirror Glaze
This chocolate glaze is not just about looks; it offers a plethora of benefits that make it a must-try for any baking enthusiast:
- Creates a stunning, shiny chocolate coating that dazzles.
- Perfect for special occasions or any celebration.
- Enhances the flavor of cakes, making them even more indulgent.
- Easy to apply with a few simple techniques.
- Can be customized with different flavors or colors.
- Suitable for various types of cakes and desserts, including cheesecakes and mousses.
- Vegan options available for dietary preferences.
If you’re curious about how to make chocolate mirror glaze, you’re in for a treat!
Ingredients for Chocolate Mirror Glaze
Gather these items:
- 1 x 20cm (8-inch) chocolate cake (2 layers)
- 2 batches Dark chocolate ganache
- 2 1/2 tbsp Cold water
- 4 tsp Gelatine powder
- 2/3 cup Water
- 2/3 cup Pure cream (whipping cream)
- 1 cup Unsweetened cocoa powder, sifted
- 1 cup + 2 tbsp White sugar (caster or superfine)
- Gold dust or gold leaf
How to Make Chocolate Mirror Glaze Step-by-Step
- Step 1: Refrigerate the cake layers for at least 1 hour. Trim and frost with chocolate ganache until smooth, then refrigerate again for at least 1 hour before glazing.
- Step 2: Bloom the gelatine by sprinkling it over cold water and letting it sit for 5 minutes until firm and spongy.
- Step 3: In a saucepan, mix cocoa powder and water into a smooth paste. Add a splash of cream to loosen, then add remaining cream and sugar. Stir gently until combined.
- Step 4: Place the saucepan over medium-high heat and bring just to the boil. Remove from heat and stir in the bloomed gelatine until fully dissolved and smooth.
- Step 5: Strain the glaze through a fine mesh sieve into a shallow bowl to remove bubbles and lumps. Cover with cling wrap touching the surface and cool for about 2 hours until it reaches 30°C (86°F).
- Step 6: Strain again into a jug before using. Place the chilled cake on a wire rack set over a tray. Pour the glaze steadily from the center outward until the cake is fully coated.
- Step 7: Allow excess glaze to drip off for about 10 minutes before transferring to a serving platter. Smooth any imperfections with a warm palette knife.
- Step 8: Decorate with gold leaf or dust if desired, then slice with a warm knife for clean edges.
Pro Tips for the Perfect Chocolate Mirror Glaze
Keep these in mind:
- Ensure your cake is well-chilled before glazing to prevent the glaze from melting.
- Use a warm palette knife to smooth out any imperfections after glazing.
- For a vegan chocolate mirror glaze, substitute dairy cream with coconut cream.
- Practice the pouring technique to get a smooth finish; it takes a bit of patience!
Best Ways to Serve Chocolate Mirror Glaze
Here are a few ideas:
- Serve over a rich chocolate mousse for an indulgent dessert.
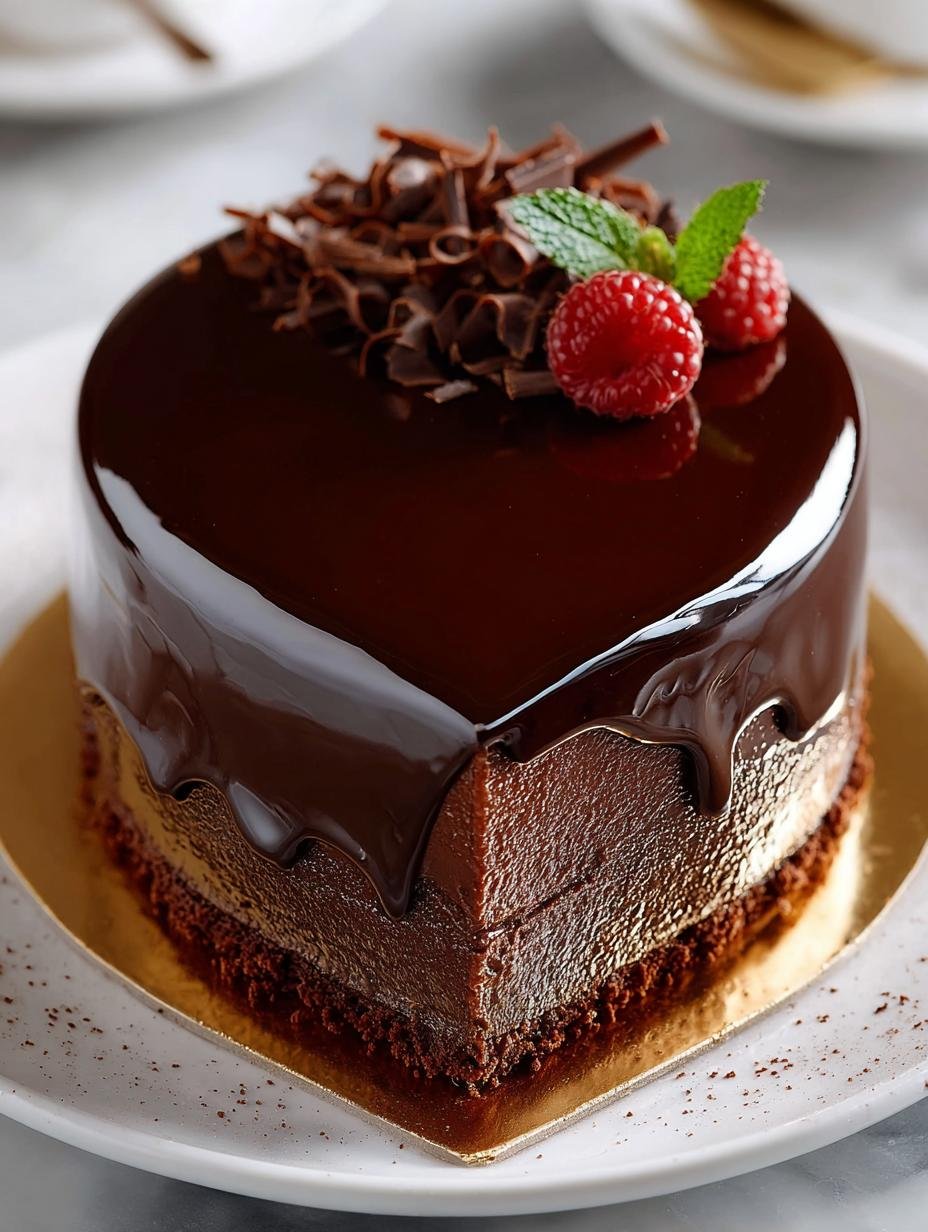
- Pair with fresh berries for a balance of flavors.
- Use as a shiny topping for layered cakes to impress guests.
How to Store and Reheat Chocolate Mirror Glaze
To store, place any leftover glaze in an airtight container in the refrigerator for up to a week. Reheat gently in a microwave or over a double boiler before using again. This makes it easy to meal prep your desserts ahead of time!
Frequently Asked Questions About Chocolate Mirror Glaze
What’s the secret to perfect Chocolate Mirror Glaze?
The key is to ensure the glaze is at the right temperature before pouring. It should be around 30°C (86°F) for a smooth application, providing that perfect reflective chocolate glaze. Be patient and practice the pouring technique for the best results!
Can I make Chocolate Mirror Glaze ahead of time?
Yes, you can prepare the chocolate mirror icing a day in advance. Just store it properly in the fridge and reheat gently before using. This also helps to speed up the cake decorating process!
How do I avoid common mistakes with Chocolate Mirror Glaze?
To avoid common pitfalls, ensure your cake is well-chilled and the glaze is strained to remove bubbles. Follow the smooth chocolate mirror glaze instructions precisely for the best appearance.
Variations of Chocolate Mirror Glaze You Can Try
Here are some exciting variations:
- For a fruity twist, incorporate pureed berries into the glaze.
- Add a hint of espresso for a mocha flavor.
- Experiment with different types of chocolate, such as white or dark chocolate.
- Use flavored extracts like vanilla or almond to enhance the taste.
For more delicious recipes, check out our Pistachio Pavlova Meringue Cakes or Easy Cinnamon Rolls. If you’re interested in vegan options, visit our Vegan Recipes section for more ideas.
Print
Chocolate Mirror Glaze: 7 Steps to Perfection
- Total Time: 6 hours
- Yield: 1 cake 1x
- Diet: Vegetarian
Description
A rich, glossy Chocolate Mirror Glaze that gives cakes a flawless, reflective finish and a deep, luxurious chocolate flavor. Smooth, elegant, and easier to make than it looks — perfect for turning any homemade cake into a showstopper.
Ingredients
- 1 x 20cm (8-inch) chocolate cake (2 layers)
- 2 batches Dark chocolate ganache
- 2 1/2 tbsp Cold water
- 4 tsp Gelatine powder
- 2/3 cup Water
- 2/3 cup Pure cream (whipping cream)
- 1 cup Unsweetened cocoa powder, sifted
- 1 cup + 2 tbsp White sugar (caster or superfine)
- Gold dust or gold leaf
Instructions
- Refrigerate the cake layers for at least 1 hour. Trim and frost with chocolate ganache until smooth, then refrigerate again for at least 1 hour before glazing.
- Bloom the gelatine by sprinkling it over cold water and letting it sit for 5 minutes until firm and spongy.
- In a saucepan, mix cocoa powder and water into a smooth paste. Add a splash of cream to loosen, then add remaining cream and sugar. Stir gently until combined.
- Place the saucepan over medium-high heat and bring just to the boil. Remove from heat and stir in the bloomed gelatine until fully dissolved and smooth.
- Strain the glaze through a fine mesh sieve into a shallow bowl to remove bubbles and lumps. Cover with cling wrap touching the surface and cool for about 2 hours until it reaches 30°C (86°F).
- Strain again into a jug before using. Place the chilled cake on a wire rack set over a tray. Pour the glaze steadily from the center outward until the cake is fully coated.
- Allow excess glaze to drip off for about 10 minutes before transferring to a serving platter. Smooth any imperfections with a warm palette knife.
- Decorate with gold leaf or dust if desired, then slice with a warm knife for clean edges.
Notes
- Prep Time: 4 hours
- Cook Time: 2 hours
- Category: Dessert
- Method: Glazing
- Cuisine: International
Nutrition
- Serving Size: 1 slice
- Calories: 320
- Sugar: 20 g
- Sodium: 30 mg
- Fat: 20 g
- Saturated Fat: 12 g
- Unsaturated Fat: 8 g
- Trans Fat: 0 g
- Carbohydrates: 32 g
- Fiber: 2 g
- Protein: 4 g
- Cholesterol: 40 mg


Leave a Reply